
Why Is My AC Running But Not Cooling?
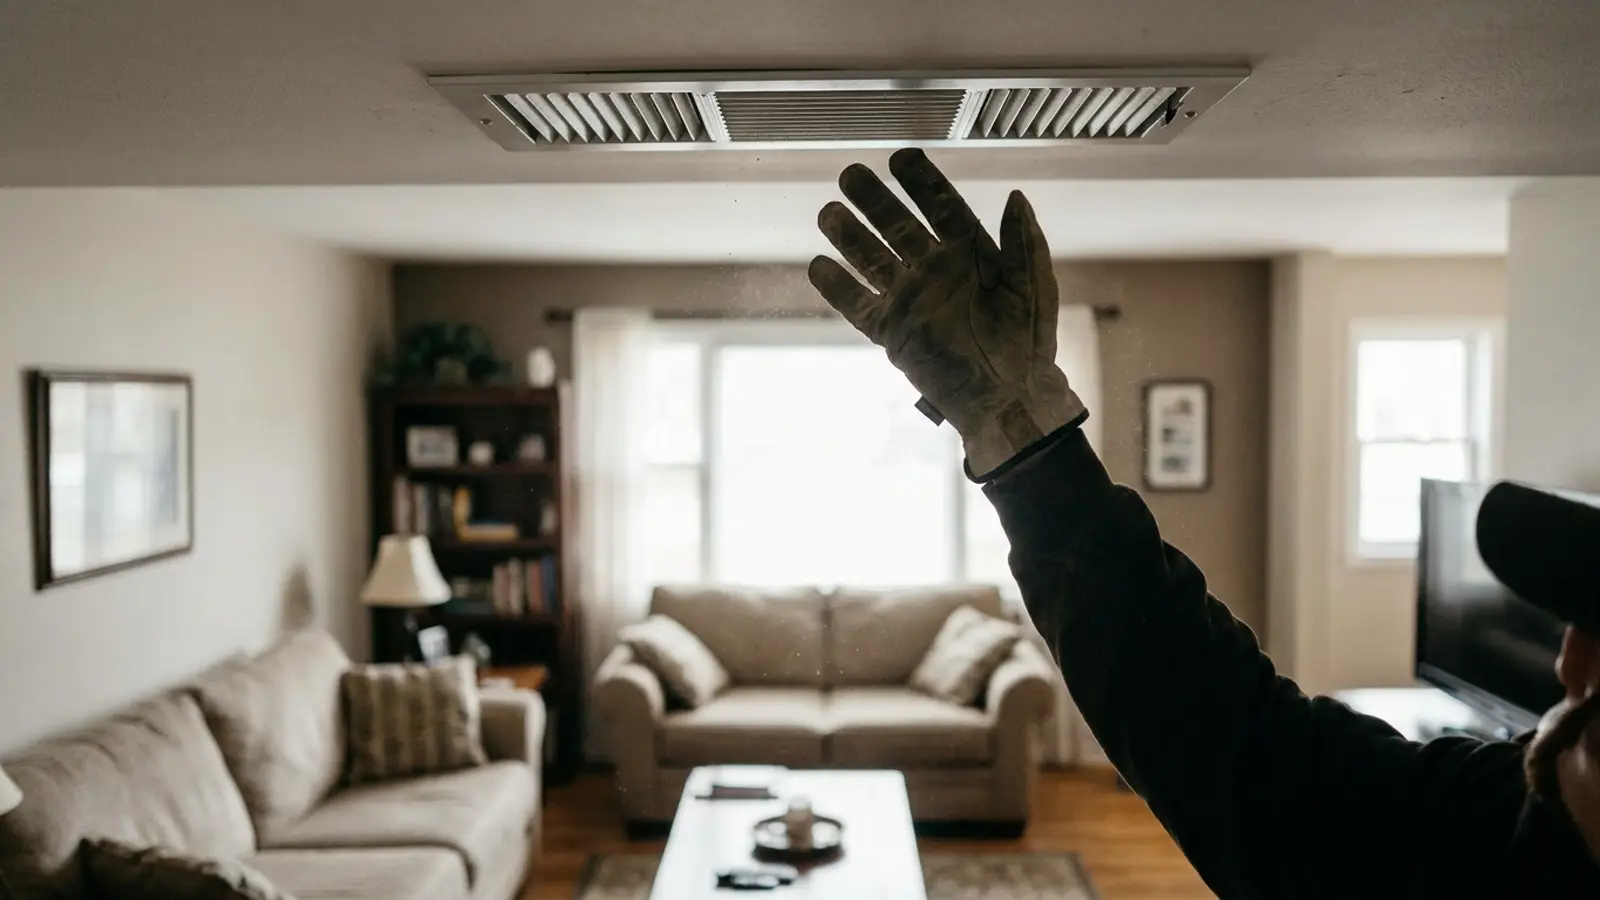
Causes, safe checks and when to call a professional
Expert Answer: AC Running But Not Cooling
When the system runs continuously but the house does not cool, the work being done is not reaching your rooms. Three explanations dominate. First, capacity loss at the equipment — low refrigerant, a dirty condenser, or a compressor that is not pumping properly. Second, delivery loss — leaky or uninsulated ducts giving your cooling to the attic. Third, load exceeding capacity, either because the equipment is undersized or because something like an open door, a failing window seal or extreme heat is adding load. Measure the temperature difference between a return grille and a supply register: a healthy system shows roughly 16–22°F.
Check these 3 things first
- 1Measure the temperature difference between a return grille and a nearby supply register.
- 2Feel the large insulated copper line at the outdoor unit for cold and condensation.
- 3Check the filter and confirm the outdoor coil is clean and unobstructed.
How Serious Is This?
GREEN
Usually Manageable
Often resolved with basic homeowner checks and routine maintenance.
YELLOW — this issue's severity level
Inspection Recommended(this issue)
Worth a professional diagnosis soon to avoid a larger repair.
RED
Potentially Serious
Stop using the system and get professional help right away.
Most Likely Causes of an AC Running But Not Cooling
1. Low refrigerant charge
The most common quantitative failure. Capacity falls steadily as charge drops, though the system keeps running.
2. Dirty condenser coil
Heat cannot leave the system, so indoor cooling shrinks even at full runtime.
3. Compressor not pumping efficiently
Worn valves or internal bypass mean the compressor runs and draws power without producing capacity.
4. Duct leakage in unconditioned space
A significant share of supply air can escape into an attic, and return leaks pull hot air in.
5. Restricted airflow at the coil
Dirty filter or coil limits how much house air can be conditioned per minute.
6. Excessive heat load
Open doors, unshaded glass, attic heat, or added appliances can exceed what the system can offset.
Safe Homeowner Checks for an AC Running But Not Cooling
- Hold a thermometer at a return grille and at a supply register and note the difference.
- Check the filter and replace if needed.
- Confirm the outdoor unit is running and the coil is clean.
- Feel the large copper line — it should be cold and sweating.
- Inspect accessible ducts for disconnects or crushed sections.
- Close blinds and check for open windows or doors.
Stop and get help if you notice
- • Temperature split under about 10°F.
- • Warm suction line during operation.
- • House temperature climbing during peak afternoon hours despite constant runtime.
2-Minute Tests for an AC Running But Not Cooling
Each test isolates one specific cause so you know what you are dealing with before anyone quotes you a repair. Stop immediately if anything feels unsafe.
Suction line temperature check
About 5 minutesTools: None
Tests for: Low refrigerant charge
- Locate the larger, insulated copper line at the outdoor unit.
- Feel it by hand while the system runs for at least ten minutes.
- Note whether it feels cold and has condensation on it.
- Compare against the smaller uninsulated liquid line, which should be warm.
- Normal result
- The suction line is cold and sweating.
- Problem result
- The suction line is warm or only slightly cool.
What it means: A warm suction line during a long run cycle suggests reduced refrigerant charge or a compressor pumping poorly.
Outdoor coil visual check
About 5 minutesTools: Flashlight
Tests for: Dirty condenser coil
- Walk around the outdoor unit and look at the fins from all sides.
- Check for matted grass clippings, cottonwood fluff or dirt buildup.
- Confirm at least two feet of clearance from bushes or fencing.
- Note any restricted airflow through the fins.
- Normal result
- Fins are visibly clean with air passing freely.
- Problem result
- Fins are caked with debris or visibly clogged.
What it means: A dirty condenser cannot reject heat efficiently, directly cutting the cooling capacity delivered indoors.
Temperature split measurement
About 10 minutesTools: Thermometer
Tests for: Duct leakage in unconditioned space
- Hold a thermometer at a return air grille and record the reading.
- Hold it at a nearby supply register and record that reading.
- Subtract the supply reading from the return reading.
- Repeat at a register in a different room if possible.
- Normal result
- The difference is roughly 16-22°F.
- Problem result
- The difference is under about 10°F, or varies widely room to room.
What it means: A low or inconsistent split points to duct losses, restricted airflow, or equipment underperformance.
Load source walkthrough
About 10 minutesTools: None
Tests for: Excessive heat load
- Check all windows and exterior doors are fully closed.
- Note whether sun-facing blinds or curtains are open.
- Count heat-producing appliances running during the test.
- Check the attic access hatch is closed and sealed.
- Normal result
- Windows are closed and sun-facing glass is shaded.
- Problem result
- Multiple doors, unshaded windows, or heat sources are adding load simultaneously.
What it means: Added heat load can outpace a healthy system's capacity, mimicking an equipment failure.
What Fixing an AC Running But Not Cooling Typically Costs
Condenser coil cleaning
- DIY
- $0-$20 (hose and coil cleaner)
- Professional
- $100-$250
- Typical time
- 30-60 minutes
Refrigerant leak repair and recharge
- DIY
- Not a DIY repair
- Professional
- $300-$1,500+
- Typical time
- 1-4 hours
Duct sealing
- DIY
- Not typically DIY for attic runs
- Professional
- $300-$1,500
- Typical time
- 2-6 hours
Compressor replacement
- DIY
- Not a DIY repair
- Professional
- $1,500-$3,500+
- Typical time
- 3-6 hours
Filter replacement
- DIY
- $15-$40
- Professional
- N/A
- Typical time
- 5 minutes
| Problem | DIY cost | Professional cost | Typical time |
|---|---|---|---|
| Condenser coil cleaning | $0-$20 (hose and coil cleaner) | $100-$250 | 30-60 minutes |
| Refrigerant leak repair and recharge | Not a DIY repair | $300-$1,500+ | 1-4 hours |
| Duct sealing | Not typically DIY for attic runs | $300-$1,500 | 2-6 hours |
| Compressor replacement | Not a DIY repair | $1,500-$3,500+ | 3-6 hours |
| Filter replacement | $15-$40 | N/A | 5 minutes |
Ranges are national estimates for planning only. Local labor rates, equipment access and parts availability change what you will actually be quoted.
Working Through an AC Running But Not Cooling
Is the supply-to-return temperature difference at least about 15°F?
Yes: The equipment is producing cooling — look at duct losses and load.
No: The equipment is underperforming — charge, compressor or coil.
Is the large copper suction line cold and sweating?
Yes: Refrigeration is functioning to some degree.
No: Suspect low charge or poor compressor performance.
Are some rooms cool while others are not?
Yes: Distribution problem — ducts, balance or insulation.
No: Whole-system capacity problem.
What the technician will check
- Temperature split and airflow measurement.
- Superheat and subcooling analysis.
- Compressor performance and amp draw.
- Condenser coil condition and head pressure.
- Duct leakage testing.
Repair considerations
- • Charge correction requires leak repair to be durable.
- • A compressor that runs but does not pump is a major-component decision, usually weighed against replacement.
- • Duct sealing is often the highest-value fix when the equipment tests fine.
What this actually means
This is the classic "it works but nothing happens" complaint. Because the equipment appears to run normally, the failure is usually quantitative rather than binary — the system is producing some cooling, just not enough of it, or not where it is needed. That distinction points diagnosis toward measurements rather than parts.
When to Call an HVAC Professional About an AC Running But Not Cooling
- The temperature split is low.
- The suction line is warm.
- The system runs all day without lowering indoor temperature.
- Cooling has degraded compared to previous seasons.
Preventing an AC Running But Not Cooling From Coming Back
- • Annual performance verification, not just a filter change.
- • Duct sealing and attic insulation.
- • Prompt attention to gradual comfort decline.
Worth doing yourself
- • Rinse the outdoor coil gently with a hose with power off.
- • Replace the filter and confirm registers are open.
- • Close blinds on sun-facing windows during peak afternoon hours.
- • Check for and close open doors or windows during operation.
Do not waste money on
- • Do not add refrigerant yourself; charge work requires certification and gauges.
- • Do not assume the compressor is fine just because it makes normal running sounds.
- • Do not ignore a persistent low temperature split hoping it self-corrects.
Related Problems: AC Running But Not Cooling
- YELLOW — Inspection RecommendedAC Not CoolingWhy Is My AC Not Cooling?Read this next if general residential AC cooling failure with no specific symptom named yet.View answer
- GREEN — Usually ManageableAC Operation ProblemsWhy Is My AC Not Keeping Up?Read this next if system cools but loses ground against peak load — the house drifts above setpoint during the hottest hours and recovers at night.View answer
- YELLOW — Inspection RecommendedAC Not CoolingWhy Is My AC Not Cooling But Fan Is Running?Read this next if indoor blower operates normally but the refrigeration cycle may not be operating — visitor has already isolated the fan as working.View answer
- GREEN — Usually ManageableAC Operation ProblemsWhy Is My AC Running Constantly?Read this next if system never shuts off — visitor wants to know whether continuous runtime is normal and what drives it.View answer
- YELLOW — Inspection RecommendedAC Not CoolingWhy Is My AC Not Blowing Cold Air?Read this next if air is moving from the supply registers but it is not noticeably cold at the vent.View answer
- GREEN — Usually ManageableAC Not CoolingWhy Is My AC Not Cooling Well? Common CausesRead this next if system still cools but performance has degraded; visitor wants a ranked list of the usual causes rather than a live troubleshooting session.View answer
- All AC Operation Problems problemsBrowse category
Frequently Asked Questions About an AC Running But Not Cooling
Guidance this page draws on
- ACCA — Temperature split and airflow diagnostic benchmarks.
- U.S. Department of Energy — Duct sealing and attic loss impact on cooling capacity.
- HVAC manufacturer service literature — Superheat and subcooling diagnostic ranges.