
Why Is My AC Leaking?
Causes, safe checks and when to call a professional
Expert Answer: AC Leaking
Before diagnosing, identify what is leaking. Clear, odorless liquid that appears only while the system runs in humid weather is condensate — normal water that has escaped the drain. An oily, slightly greasy residue on refrigerant lines or fittings suggests a refrigerant leak, because oil circulates with refrigerant and marks the escape point. A hissing sound with declining cooling and no visible liquid also points to refrigerant. Water leaks are a drainage repair; refrigerant leaks are a sealed-system repair and require a certified technician.
Check these 3 things first
- 1Touch a paper towel to the liquid to check its texture and color.
- 2Listen near the coil and line set for hissing.
- 3Note whether the leak coincides with declining cooling performance.
How Serious Is This?
GREEN
Usually Manageable
Often resolved with basic homeowner checks and routine maintenance.
YELLOW — this issue's severity level
Inspection Recommended(this issue)
Worth a professional diagnosis soon to avoid a larger repair.
RED
Potentially Serious
Stop using the system and get professional help right away.
Most Likely Causes of an AC Leaking
1. Condensate drainage failure (water)
Clogged line, full pan, failed pump. Clear, odorless water near the indoor unit.
2. Refrigerant leak (oily residue, hissing)
Escaping refrigerant carries compressor oil, leaving a dark greasy film at joints, coils or valves.
3. Frozen coil melting
Produces a large, sudden water leak that may be mistaken for a plumbing problem.
4. Duct condensation
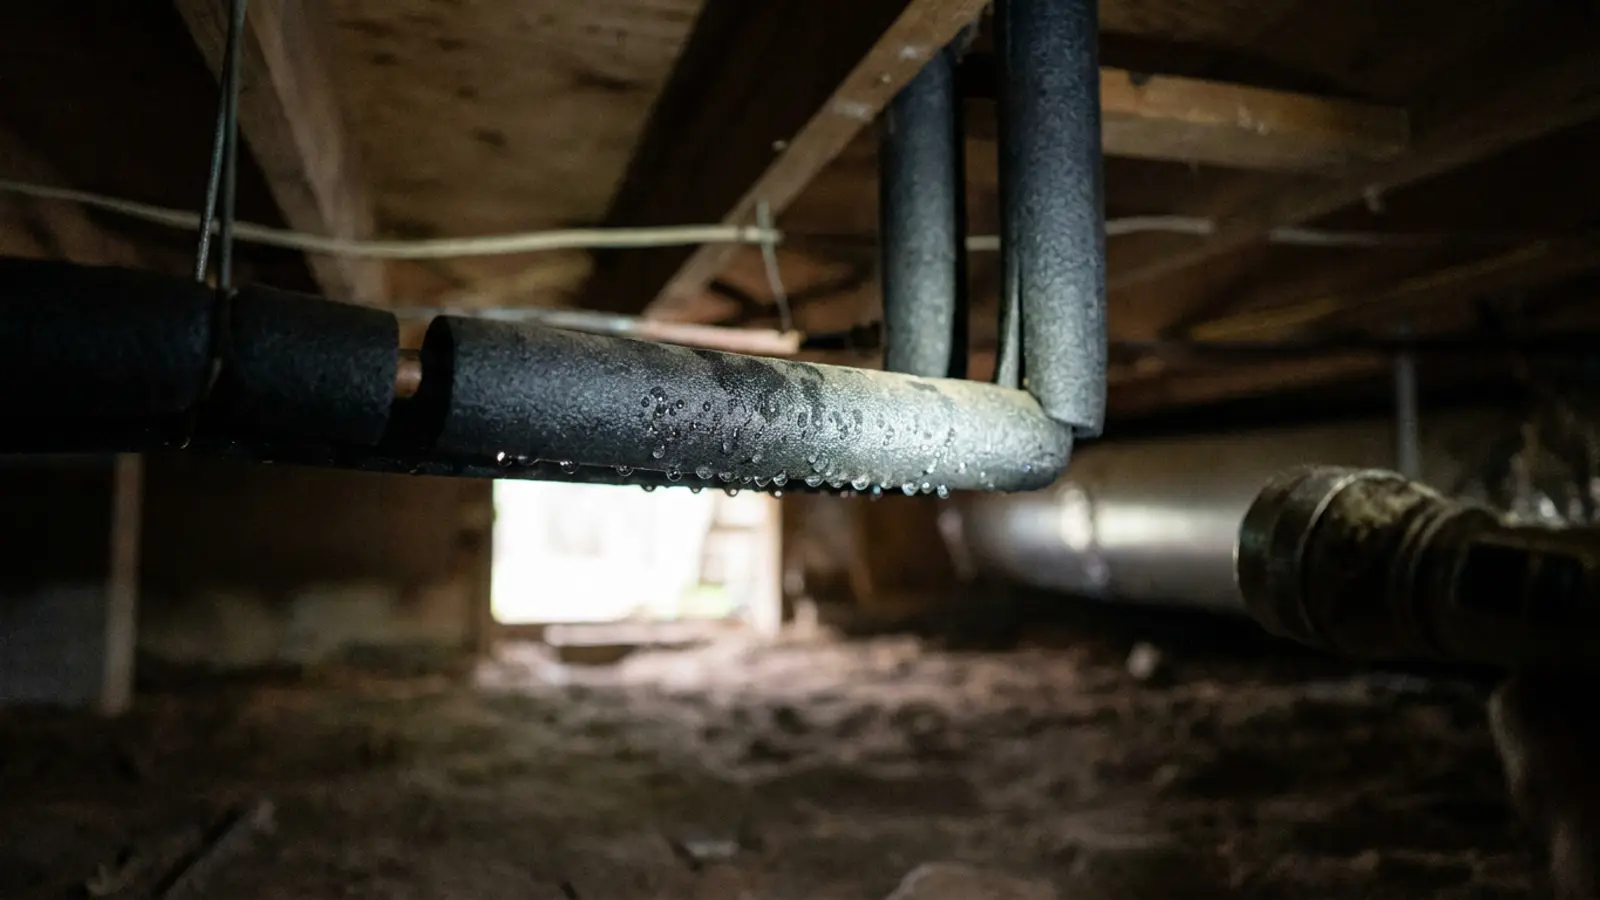
Uninsulated ducts in humid spaces sweat and drip, leaving water far from the equipment.
5. Humidifier or plumbing nearby
Water near an air handler is not always from the AC — check nearby plumbing and whole-home humidifiers.
Safe Homeowner Checks for an AC Leaking
- Touch a paper towel to the liquid: clear and thin means water, oily and dark suggests refrigerant oil.
- Note whether the leak occurs only during cooling operation.
- Listen for hissing or bubbling near the coil or line set.
- Look for greasy residue on copper fittings and service valves.
- Check the drain pan for standing water.
- Check nearby plumbing to rule out a non-HVAC source.
Stop and get help if you notice
- • Oily residue combined with declining cooling — a refrigerant leak.
- • Hissing that stops when the system shuts off.
- • Water contacting electrical components.
2-Minute Tests for an AC Leaking
Each test isolates one specific cause so you know what you are dealing with before anyone quotes you a repair. Stop immediately if anything feels unsafe.
Confirm the liquid is condensate
About 5 minutesTools: White paper towel
Tests for: Condensate drainage failure (water)
- Blot the liquid with a clean white paper towel.
- Check the color and smell — condensate is clear and odorless.
- Confirm the leak only happens while the system is cooling.
- Check the drain pan for standing water.
- Normal result
- The towel shows a clear, odorless wet spot with no residue.
- Problem result
- The towel shows an oily, greasy, or discolored mark.
What it means: A clean clear stain confirms condensate; an oily stain points to refrigerant, not water.
Inspect fittings for oily residue and listen for hissing
About 10 minutesTools: Flashlight
Tests for: Refrigerant leak (oily residue, hissing)
- Turn the system off for safety and quiet.
- Examine copper line-set joints, valves, and the coil surface with a flashlight.
- Look for a dark, slightly sticky film at any fitting.
- Turn the system on briefly and listen near the coil for a hissing or bubbling sound.
- Normal result
- Fittings are clean and dry with no unusual sound.
- Problem result
- A greasy film is visible or a hissing sound is present.
What it means: Oily residue or hissing indicates refrigerant escaping, which is a sealed-system repair, not a drainage fix.
Rule out a large meltwater event
About 5 minutesTools: Flashlight
Tests for: Frozen coil melting
- Turn the system off and open the access panel.
- Check the coil for ice or recent meltwater pooling below it.
- Note whether the leak appeared suddenly and in a large volume.
- Check the filter for restriction.
- Normal result
- No ice or sudden pooling; leak has been slow and steady.
- Problem result
- Ice is present or the leak arrived as a sudden gush.
What it means: A sudden large volume points to thawing ice rather than a slow refrigerant or drain issue.
Check for sweating away from the equipment
About 10 minutesTools: Flashlight
Tests for: Duct condensation
- Trace where the water actually appears relative to the indoor unit.
- Inspect nearby ductwork for damp insulation or bare metal.
- Feel duct exteriors for cold, wet surfaces.
- Check the room's general humidity level if you have a hygrometer.
- Normal result
- Ducts are dry and the leak traces back to the equipment.
- Problem result
- Ducts feel cold and wet some distance from the unit.
What it means: Water appearing away from the equipment on cold ducts is condensation, not a unit leak.
What Fixing an AC Leaking Typically Costs
Drain line clearing
- DIY
- $5-$15
- Professional
- $75-$200
- Typical time
- 30-60 minutes
Refrigerant leak detection
- DIY
- Not a DIY repair
- Professional
- $100-$300
- Typical time
- 1-2 hours
Refrigerant leak repair
- DIY
- Not a DIY repair
- Professional
- $300-$1,500+
- Typical time
- 2-6 hours
Coil replacement (leak in coil)
- DIY
- Not a DIY repair
- Professional
- $1,200-$2,800
- Typical time
- Half day
Duct insulation repair
- DIY
- $20-$60
- Professional
- $150-$400
- Typical time
- 1-2 hours
| Problem | DIY cost | Professional cost | Typical time |
|---|---|---|---|
| Drain line clearing | $5-$15 | $75-$200 | 30-60 minutes |
| Refrigerant leak detection | Not a DIY repair | $100-$300 | 1-2 hours |
| Refrigerant leak repair | Not a DIY repair | $300-$1,500+ | 2-6 hours |
| Coil replacement (leak in coil) | Not a DIY repair | $1,200-$2,800 | Half day |
| Duct insulation repair | $20-$60 | $150-$400 | 1-2 hours |
Ranges are national estimates for planning only. Local labor rates, equipment access and parts availability change what you will actually be quoted.
Working Through an AC Leaking
Is the liquid clear, thin and odorless?
Yes: Condensate. Focus on the drain line, pan and pump.
No: Continue.
Is there an oily film on copper lines, fittings or the coil?
Yes: Likely a refrigerant leak. This requires an EPA-certified technician.
No: Continue.
Is cooling performance declining along with the leak?
Yes: Refrigerant loss is likely even without visible residue.
No: Treat as a water and drainage issue.
What the technician will check
- Electronic leak detection and, where needed, dye or nitrogen pressure testing.
- Condensate drain and pan inspection.
- Coil inspection for corrosion-related leaks.
- Charge measurement to quantify refrigerant loss.
Repair considerations
- • Water and drainage repairs are typically routine and inexpensive.
- • Refrigerant leak repairs vary enormously by location and may require coil replacement.
- • Phased-out refrigerants raise recharge costs and often shift the decision toward replacement.
What this actually means
The word "leaking" covers three very different failures. Condensate leaks threaten your home but not the equipment. Refrigerant leaks threaten the equipment and its efficiency but rarely make a puddle. Oil traces are the visible evidence of the second type. Sorting them correctly avoids chasing the wrong repair.
When to Call an HVAC Professional About an AC Leaking
- You find oily residue on refrigerant lines.
- Cooling is declining along with the leak.
- You hear hissing from the coil or line set.
- Water cannot be traced to the drain system.
Preventing an AC Leaking From Coming Back
- • Annual maintenance with a drain flush and a visual leak inspection.
- • Protect the outdoor unit and line set from physical damage and corrosion.
- • Address performance decline early — it is the first sign of a refrigerant leak.
Worth doing yourself
- • Use the paper-towel test to classify the leak before calling anyone.
- • Clear the drain line if the liquid is confirmed to be condensate.
- • Wrap accessible bare ducts with insulation sleeves if sweating is the cause.
- • Replace the filter to rule out an airflow-driven icing issue.
Do not waste money on
- • Topping off refrigerant yourself — handling refrigerant requires EPA certification.
- • Assuming oily residue is just dirt and delaying a leak inspection.
Related Problems: AC Leaking
- YELLOW — Inspection RecommendedAC Water LeaksWhy Is My AC Leaking Water?Read this next if broad water-leak diagnosis with no location specified yet — the visitor needs to identify the source before anything else.View answer
- YELLOW — Inspection RecommendedAC Water LeaksWhy Is My AC Unit Leaking Water?Read this next if water is visibly originating at the equipment cabinet — indoor air handler or outdoor condenser — rather than appearing elsewhere in the home.View answer
- YELLOW — Inspection RecommendedAC Water LeaksWhy Is My AC Dripping Water?Read this next if active, ongoing dripping observed in real time — emphasis on the drip location and whether that specific drip is normal.View answer
- YELLOW — Inspection RecommendedAC NoisesWhy Is My AC Making a Hissing Noise?Read this next if specifically a hissing sound — refrigerant escape, valve noise and duct leakage are the differential, with a real leak risk to rule out.View answer
- YELLOW — Inspection RecommendedAC Not CoolingWhy Is My AC Not Cooling?Read this next if general residential AC cooling failure with no specific symptom named yet.View answer
- YELLOW — Inspection RecommendedAC Water LeaksWhy Is My AC Leaking Water Inside?Read this next if water is appearing indoors and the visitor is concerned about interior damage — emphasis on containment and stopping the water.View answer
- All AC Water Leaks problemsBrowse category
Frequently Asked Questions About an AC Leaking
Guidance this page draws on
- U.S. EPA — Refrigerant handling regulations and certified technician requirements.
- ACCA — Diagnostic standards separating condensate from refrigerant faults.