
Why Is My AC Leaking Water Inside?
Causes, safe checks and when to call a professional
Expert Answer: AC Leaking Water Inside
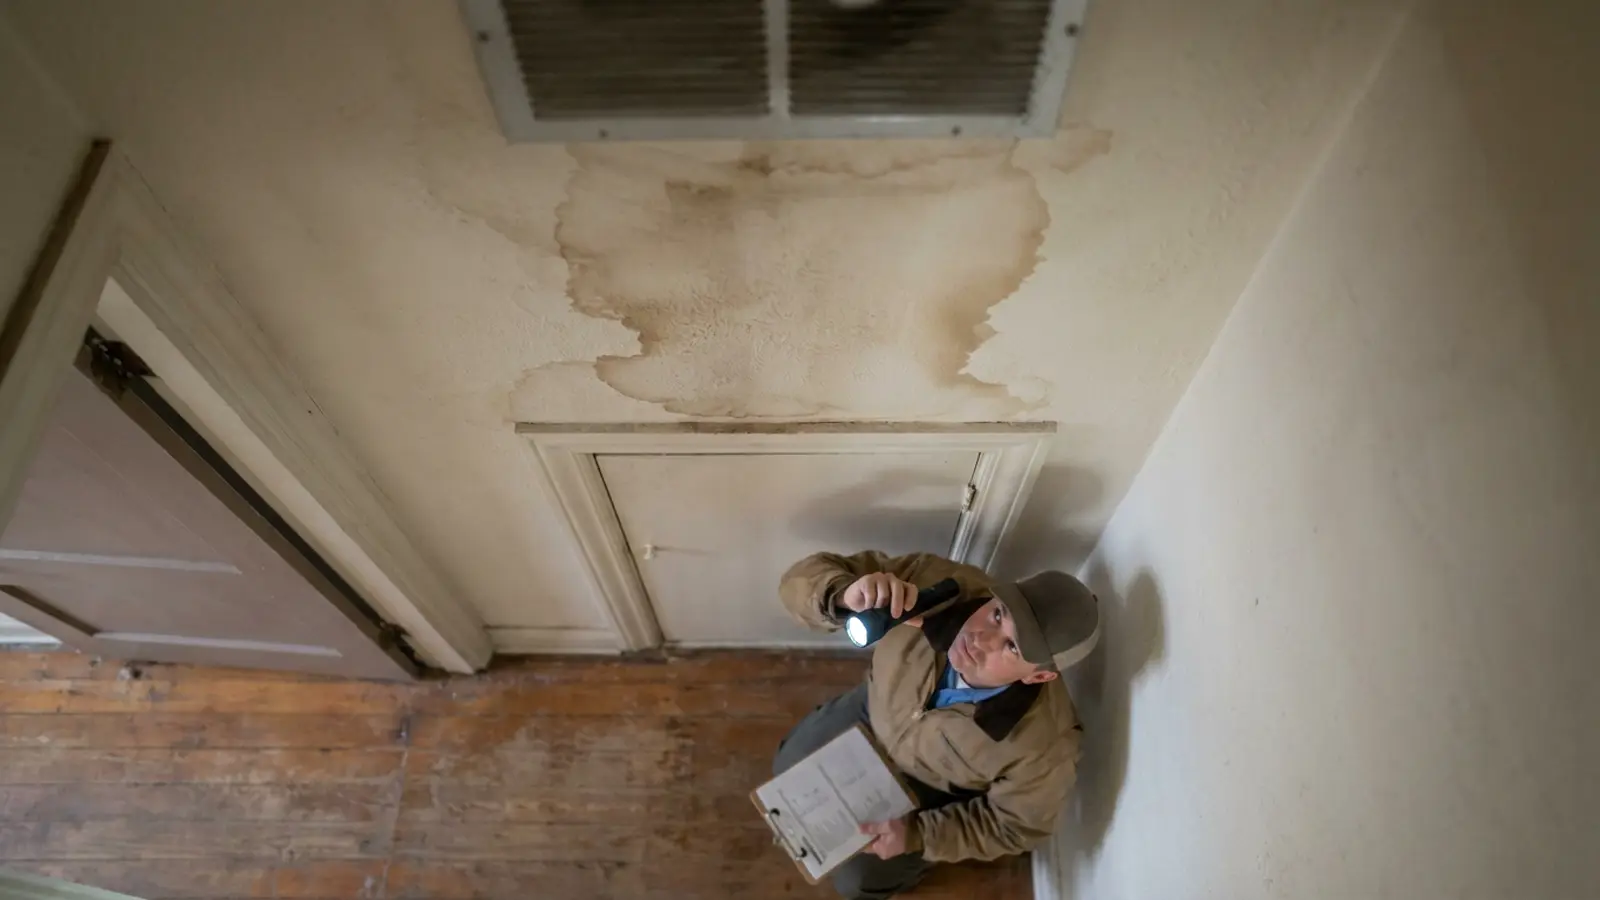
Water indoors is a property-damage problem first and an HVAC problem second. Turn cooling off at the thermostat right away — the system produces water only while it runs, so shutting it down stops the source. Then contain what is already there with towels or a container and look for the drain pan. The likely cause is a clogged condensate drain, an overflowing or corroded pan, a thawing frozen coil, or a failed condensate pump. Anything more than a small amount of water reaching drywall, insulation or flooring justifies same-day service.
Check these 3 things first
- 1Shut off cooling if water is actively reaching drywall, insulation, or flooring.
- 2Look for ceiling staining directly below an attic or closet air handler.
- 3Check whether a float safety switch has already tripped the system off.
How Serious Is This?
GREEN
Usually Manageable
Often resolved with basic homeowner checks and routine maintenance.
YELLOW — this issue's severity level
Inspection Recommended(this issue)
Worth a professional diagnosis soon to avoid a larger repair.
RED
Potentially Serious
Stop using the system and get professional help right away.
Most Likely Causes of an AC Leaking Water Inside
1. Clogged condensate drain line
The pan fills and overflows into the space below or around the unit.
2. Failed condensate pump
Closet, basement and attic units that pump condensate uphill will overflow within hours of a pump failure.
3. Corroded or cracked drain pan
Water escapes the pan directly rather than overflowing the edge.
4. Thawing frozen coil
Melting ice releases more water at once than the drain can carry.
5. Missing or bypassed float safety switch
Without a working float switch, nothing stops the system before the pan overflows into the home.
6. Duct or coil condensation in a humid space
Cold surfaces sweating in a humid attic can drip onto ceilings without any drain fault.
Safe Homeowner Checks for an AC Leaking Water Inside
- Turn the thermostat to OFF to stop producing condensate.
- Contain the water and protect flooring and belongings.
- Check the drain pan for standing water and the drain line for a dry outlet.
- Look for ice on the coil.
- If there is a condensate pump, check whether its reservoir is full.
- Photograph the damage for insurance before cleanup.
- Keep water away from electrical panels and outlets.
Stop and get help if you notice
- • Water dripping through a ceiling or light fixture — treat as urgent and shut off power to that circuit if safe.
- • Bulging drywall.
- • Water near the electrical panel or an outlet.
2-Minute Tests for an AC Leaking Water Inside
Each test isolates one specific cause so you know what you are dealing with before anyone quotes you a repair. Stop immediately if anything feels unsafe.
Check for a float switch and its condition
About 10 minutesTools: Flashlight
Tests for: Missing or bypassed float safety switch
- Open the access panel near the drain pan.
- Look for a small float device sitting in or near the pan or drain line.
- If present, check that it moves freely and is wired into the control circuit.
- If absent, note that as a gap in your protection against interior water damage.
- Normal result
- A float switch is present, moves freely, and is connected.
- Problem result
- No float switch exists, or it is stuck, disconnected, or bypassed.
What it means: Without a working float switch, a clogged drain has no safeguard before water reaches your ceiling.
Test drain flow before it reaches the ceiling
About 10 minutesTools: Cup of water
Tests for: Clogged condensate drain line
- Turn off the system to stop adding more water.
- Pour a cup of water into the drain pan or an access tee.
- Watch whether it exits the outdoor drain outlet promptly.
- Check the ceiling below the unit for fresh staining while the system stays off.
- Normal result
- Water exits outside within a minute and no new staining appears.
- Problem result
- Water backs up or new ceiling staining appears while the system is off.
What it means: Backed-up water confirms the drain clog is the active source of the interior leak.
Look for the exact point water is escaping
About 10 minutesTools: Flashlight
Tests for: Corroded or cracked drain pan
- With the system off, examine the pan closely for rust holes or cracks.
- Check the cabinet base and surrounding insulation for dampness.
- Trace any water tracks up or down from the suspected crack.
- Note whether the leak location matches the ceiling stain directly below.
- Normal result
- The pan is intact with no visible corrosion or cracks.
- Problem result
- A crack or rust hole lines up with the stained area below.
What it means: A cracked pan lets water escape the cabinet directly, bypassing the drain entirely.
Check for ice contributing to the interior leak
About 5 minutesTools: Flashlight
Tests for: Thawing frozen coil
- Turn the system off and open the panel.
- Look for frost or ice on the coil.
- Check the filter for restriction.
- Estimate how much water could be released once fully thawed.
- Normal result
- No ice is present.
- Problem result
- Visible ice is present, meaning a large meltwater release is coming.
What it means: A thawing coil can dump more water than the pan can handle, overwhelming even a working drain.
What Fixing an AC Leaking Water Inside Typically Costs
Drain line clearing
- DIY
- $5-$15
- Professional
- $75-$200
- Typical time
- 30-60 minutes
Float switch installation
- DIY
- Not recommended
- Professional
- $100-$250
- Typical time
- 1 hour
Drain pan replacement
- DIY
- Not a DIY repair
- Professional
- $300-$800
- Typical time
- 2-4 hours
Ceiling patch and paint
- DIY
- $50-$200
- Professional
- $300-$1,200
- Typical time
- 1-2 days
Water damage mitigation/drying
- DIY
- Not a DIY repair
- Professional
- $500-$3,000+
- Typical time
- 1-3 days
| Problem | DIY cost | Professional cost | Typical time |
|---|---|---|---|
| Drain line clearing | $5-$15 | $75-$200 | 30-60 minutes |
| Float switch installation | Not recommended | $100-$250 | 1 hour |
| Drain pan replacement | Not a DIY repair | $300-$800 | 2-4 hours |
| Ceiling patch and paint | $50-$200 | $300-$1,200 | 1-2 days |
| Water damage mitigation/drying | Not a DIY repair | $500-$3,000+ | 1-3 days |
Ranges are national estimates for planning only. Local labor rates, equipment access and parts availability change what you will actually be quoted.
Working Through an AC Leaking Water Inside
Is water actively entering living space?
Yes: Shut cooling off now and contain the water before continuing.
No: Continue with diagnosis.
Is water dripping near electrical fixtures or the panel?
Yes: Do not touch affected fixtures. Shut off the relevant circuit if you can do so safely and get professional help.
No: Continue.
Is the drain pan full?
Yes: Clogged drain or failed pump. Service required.
No: Look for a cracked pan, condensation, or a coil thaw.
What the technician will check
- Drain clearing and trap verification.
- Pan and secondary pan inspection.
- Float switch installation or testing.
- Condensate pump testing.
- Coil icing cause analysis.
Repair considerations
- • Water remediation and drywall repair are separate from the HVAC repair.
- • Adding a secondary drain pan and float switch is a small cost against a large risk.
- • Homeowners insurance treatment of gradual water damage varies — document everything.
What this actually means
Interior leaks mean the condensate collection system has been overwhelmed or bypassed. Because indoor air handlers are frequently installed in attics, closets and above finished ceilings, even a modest overflow can travel far and cause damage well away from the equipment.
When to Call an HVAC Professional About an AC Leaking Water Inside
- Water has reached ceilings, walls or flooring.
- The pan is full and the drain will not clear.
- The condensate pump has failed.
- You have no float safety switch on an attic or closet unit.
Preventing an AC Leaking Water Inside From Coming Back
- • Annual drain flushing before cooling season.
- • Working float safety switch on every attic or above-ceiling unit.
- • Secondary drain pan with an independent drain where the unit sits above finished space.
- • Filter changes to prevent coil icing.
Worth doing yourself
- • Shut the system off immediately once interior water is confirmed.
- • Place towels or a shallow pan under the active drip to limit spread.
- • Photograph the staining and leak location for insurance and technician reference.
- • Clear a reachable portion of the drain line with a wet/dry vacuum.
Do not waste money on
- • Leaving the system running to keep cooling while water is actively entering the ceiling.
- • Painting over a stain before the moisture source is fixed and the area is fully dry.
- • Bypassing or removing a float switch because it keeps shutting the system off.
Related Problems: AC Leaking Water Inside
- YELLOW — Inspection RecommendedAC Water LeaksWhy Is My AC Leaking Water Inside the House?Read this next if water exposure inside finished living space with urgency around preventing structural and cosmetic home damage.View answer
- YELLOW — Inspection RecommendedAC Water LeaksWhy Is My AC Leaking Water?Read this next if broad water-leak diagnosis with no location specified yet — the visitor needs to identify the source before anything else.View answer
- YELLOW — Inspection RecommendedAC Water LeaksWhy Is My AC Unit Leaking Water?Read this next if water is visibly originating at the equipment cabinet — indoor air handler or outdoor condenser — rather than appearing elsewhere in the home.View answer
- YELLOW — Inspection RecommendedAC Water LeaksWhy Is My AC Leaking Water From the Bottom?Read this next if water is emerging specifically at the base of the unit — drain pan, cabinet base and overflow path are the focus.View answer
- YELLOW — Inspection RecommendedAC Water LeaksWhy Is My AC Dripping Water?Read this next if active, ongoing dripping observed in real time — emphasis on the drip location and whether that specific drip is normal.View answer
- YELLOW — Inspection RecommendedAC FreezingWhy Is My AC Frozen?Read this next if system is already fully frozen and non-functional right now — visitor needs emergency thaw instructions before any diagnosis.View answer
- All AC Water Leaks problemsBrowse category
Frequently Asked Questions About an AC Leaking Water Inside
Guidance this page draws on
- CPSC — General guidance on preventing water-related home hazards.
- HVAC manufacturer service literature — Float switch and drain pan installation standards.