
Why Is My AC Leaking Water Inside the House?
Causes, safe checks and when to call a professional
Expert Answer: AC Leaking Water Inside the House
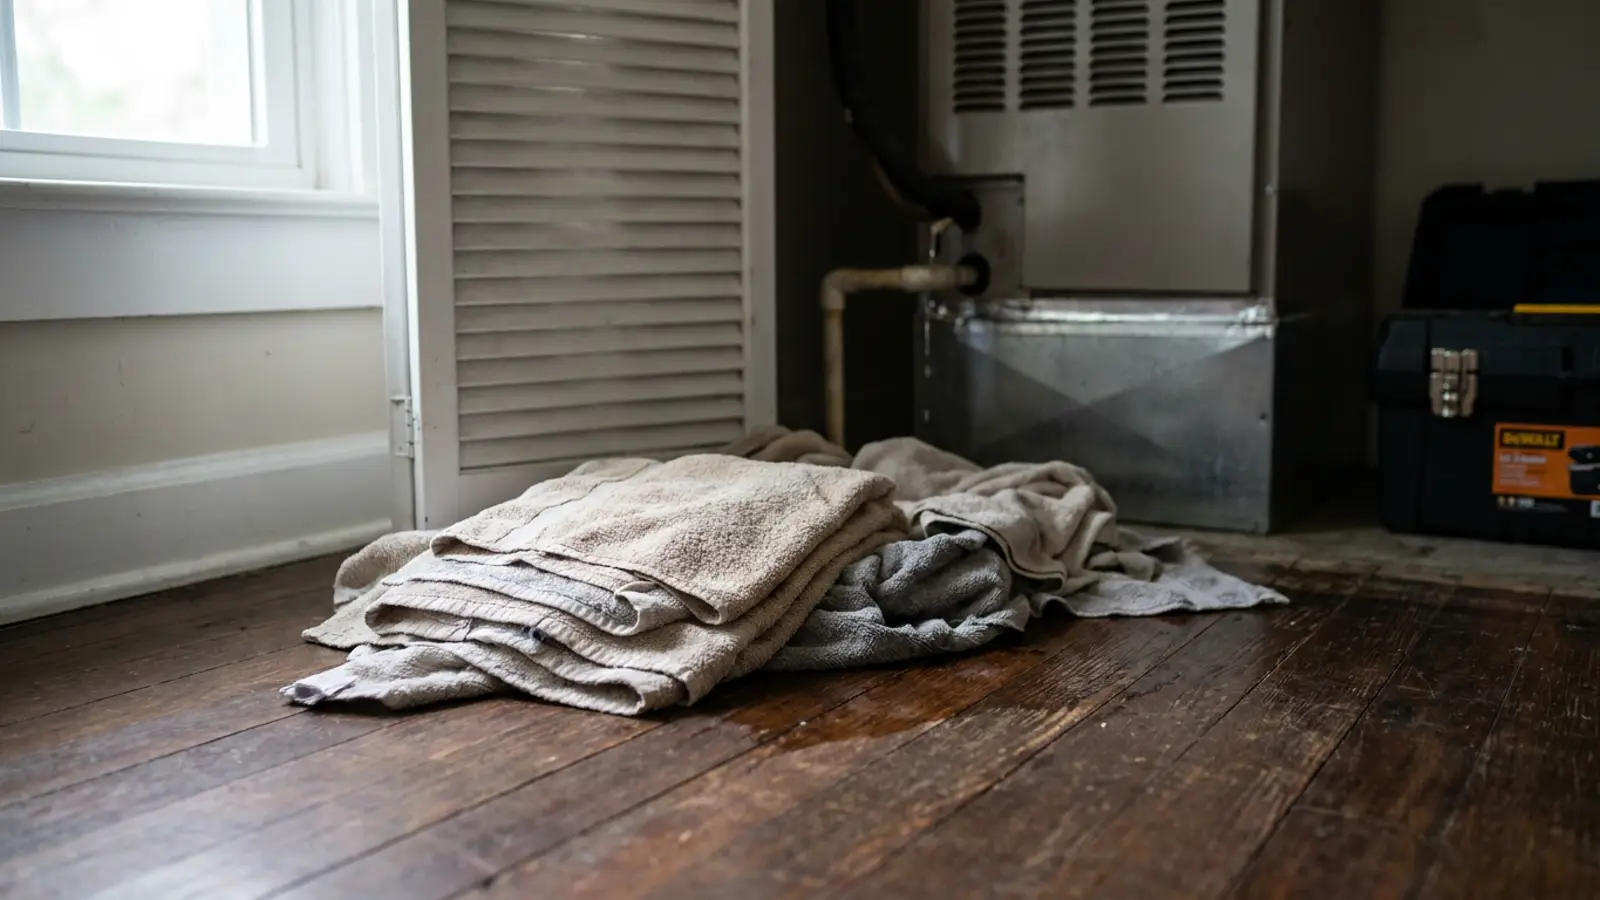
Water inside finished living space is time-sensitive. In the first ten minutes: turn the thermostat OFF so the system stops making condensate, contain and soak up standing water, move belongings out of the path, and keep water away from outlets and light fixtures. The cause is nearly always the condensate system — a clogged drain, an overflowing pan, a failed pump, or a thawing coil — but the priority order is damage control, then diagnosis, then repair. Ceilings that are wet, sagging or dripping around a light fixture warrant immediate professional help.
Check these 3 things first
- 1Shut the system down immediately if water is actively entering living space.
- 2Identify whether the unit is in an attic, closet, or other space above finished ceilings.
- 3Check for a secondary drain pan or emergency drain line that may already be discharging.
How Serious Is This?
GREEN
Usually Manageable
Often resolved with basic homeowner checks and routine maintenance.
YELLOW — this issue's severity level
Inspection Recommended(this issue)
Worth a professional diagnosis soon to avoid a larger repair.
RED
Potentially Serious
Stop using the system and get professional help right away.
Most Likely Causes of an AC Leaking Water Inside the House
1. Condensate drain clog with attic or ceiling-level unit
Overflow travels through the ceiling and shows up as stains, drips or bulges in the room below.
2. Failed float switch or none installed
The safety designed to prevent exactly this scenario is either absent, bypassed or defective.
3. Condensate pump failure
Pumped systems overflow quickly because there is no gravity path for the water.
4. Corroded pan on an older air handler
Water bypasses the drain entirely and lands wherever the cabinet sits.
5. Frozen coil thaw
A large, sudden release of meltwater overwhelms any drain.
6. Secondary drain line blocked as well
Many attic units have an emergency drain that terminates over a window; if that is also clogged, water goes into the home.
Safe Homeowner Checks for an AC Leaking Water Inside the House
- Set the thermostat to OFF immediately.
- Contain water and protect flooring and furniture.
- Keep clear of wet ceilings and electrical fixtures.
- Look for water at the attic or closet unit and check the pan.
- Check whether the emergency drain outside (often above a window) is dripping — a classic warning sign.
- Document damage with photos.
- Ventilate and dry the area to limit mold growth.
Stop and get help if you notice
- • Sagging or bulging ceiling — do not stand under it.
- • Water around recessed lights or ceiling fixtures.
- • Electrical buzzing or flickering near the wet area.
2-Minute Tests for an AC Leaking Water Inside the House
Each test isolates one specific cause so you know what you are dealing with before anyone quotes you a repair. Stop immediately if anything feels unsafe.
Test primary drain flow from an elevated unit
About 10 minutesTools: Cup of water, flashlight
Tests for: Condensate drain clog with attic or ceiling-level unit
- With the system off, locate the primary drain pan in the attic or closet unit.
- Pour a cup of water into the pan or an access point.
- Check whether it exits the designated outdoor termination promptly.
- Inspect the ceiling directly below for fresh moisture while testing.
- Normal result
- Water exits outdoors quickly with no new ceiling moisture.
- Problem result
- Water backs up in the pan or new ceiling moisture appears during the test.
What it means: A backed-up primary drain on an elevated unit sends water straight into the ceiling cavity below.
Check the secondary/emergency drain line
About 10 minutesTools: Flashlight
Tests for: Secondary drain line blocked as well
- Locate the secondary drain line, often terminating near a soffit or window as a visible warning.
- Check whether it has ever dripped, indicating the primary already backed up once.
- Trace it for kinks, blockages, or disconnection.
- Confirm it terminates somewhere visible outside, not inside a wall cavity.
- Normal result
- The secondary line is clear, intact, and terminates outside where it can be noticed.
- Problem result
- The secondary line is blocked, missing, or drains somewhere it cannot be seen.
What it means: A nonfunctional secondary drain removes your last warning before ceiling damage occurs.
Verify the safety shutoff is present and working
About 10 minutesTools: Flashlight
Tests for: Failed float switch or none installed
- Locate the float switch in the primary pan or drain line, if installed.
- Check that it moves freely and is wired to shut the system down.
- If missing, treat this as an immediate risk for an elevated installation.
- Note whether the system already shut itself off, indicating the switch worked.
- Normal result
- A float switch is present, functional, and the system shut down when tested full.
- Problem result
- No switch exists, or it fails to stop the system when the pan is full.
What it means: An elevated unit without a working float switch has no automatic protection against ceiling flooding.
Inspect an older unit's pan for age-related failure
About 10 minutesTools: Flashlight
Tests for: Corroded pan on an older air handler
- Note the approximate age of the air handler.
- Inspect the pan for rust, discoloration, or a soft/thin floor.
- Check insulation around the unit for staining consistent with a slow long-term leak.
- Compare the ceiling stain pattern to the pan's location for direct evidence.
- Normal result
- The pan shows no corrosion despite the unit's age.
- Problem result
- Visible corrosion is present on an older unit with a matching ceiling stain.
What it means: An aging, corroded pan on an elevated unit is a leading cause of gradual, hidden ceiling damage.
What Fixing an AC Leaking Water Inside the House Typically Costs
Emergency shutdown/service call
- DIY
- $0
- Professional
- $100-$250
- Typical time
- Same day
Drain line clearing (primary and secondary)
- DIY
- $5-$15
- Professional
- $100-$250
- Typical time
- 1 hour
Float switch installation
- DIY
- Not recommended
- Professional
- $100-$250
- Typical time
- 1 hour
Drain pan replacement
- DIY
- Not a DIY repair
- Professional
- $300-$800
- Typical time
- 2-4 hours
Ceiling and drywall water damage repair
- DIY
- Not a DIY repair
- Professional
- $500-$3,500+
- Typical time
- 2-5 days
Mold inspection/remediation if needed
- DIY
- Not a DIY repair
- Professional
- $500-$4,000+
- Typical time
- Varies
| Problem | DIY cost | Professional cost | Typical time |
|---|---|---|---|
| Emergency shutdown/service call | $0 | $100-$250 | Same day |
| Drain line clearing (primary and secondary) | $5-$15 | $100-$250 | 1 hour |
| Float switch installation | Not recommended | $100-$250 | 1 hour |
| Drain pan replacement | Not a DIY repair | $300-$800 | 2-4 hours |
| Ceiling and drywall water damage repair | Not a DIY repair | $500-$3,500+ | 2-5 days |
| Mold inspection/remediation if needed | Not a DIY repair | $500-$4,000+ | Varies |
Ranges are national estimates for planning only. Local labor rates, equipment access and parts availability change what you will actually be quoted.
Working Through an AC Leaking Water Inside the House
Is water dripping near electrical fixtures or a panel?
Yes: Treat this as urgent. Shut off power to that circuit if safe and get professional help before continuing.
No: Continue.
Is the ceiling sagging or bulging?
Yes: Stay clear and get professional help — trapped water can release all at once.
No: Continue.
Is the pan full or is the pump reservoir full?
Yes: Blocked drain or pump failure — schedule same-day service.
No: Have the pan and coil inspected.
What the technician will check
- Primary and secondary drain clearing.
- Float switch installation and testing.
- Pan condition and replacement assessment.
- Pump testing.
- Coil icing investigation.
Repair considerations
- • The HVAC repair is usually far cheaper than the water damage restoration.
- • Adding a float switch and a properly routed secondary drain is inexpensive protection.
- • Restoration, drywall and flooring work involves other trades.
What this actually means
This phrasing usually comes from someone watching water reach drywall, hardwood or carpet. The HVAC failure behind it is generally ordinary and inexpensive to repair; the expensive part is the water. That is why the useful advice front-loads containment and shutdown rather than troubleshooting.
When to Call an HVAC Professional About an AC Leaking Water Inside the House
- Water has entered ceilings, walls, or flooring.
- The ceiling is stained, sagging or dripping.
- The emergency drain has been discharging.
- The pump or float switch has failed.
Preventing an AC Leaking Water Inside the House From Coming Back
- • Annual condensate maintenance and drain flushing.
- • Working float safety switch on any unit above finished space.
- • Secondary drain pan with an independently routed drain line.
- • Check the emergency drain outlet occasionally — a drip there means the primary drain is failing.
Worth doing yourself
- • Turn the system off the moment interior water is discovered.
- • Set out towels, buckets, or a fan to limit spreading water while waiting for service.
- • Photograph the ceiling damage and the equipment area for your records.
- • Check attic access for the drain routing so you can point a technician to it quickly.
Do not waste money on
- • Delaying a call to a technician because the drip seems small — attic and closet leaks often hide extensive damage above the ceiling.
- • Running a dehumidifier as a substitute for actually stopping the source.
- • Removing wet drywall yourself without addressing possible mold exposure precautions.
Related Problems: AC Leaking Water Inside the House
- YELLOW — Inspection RecommendedAC Water LeaksWhy Is My AC Leaking Water Inside?Read this next if water is appearing indoors and the visitor is concerned about interior damage — emphasis on containment and stopping the water.View answer
- YELLOW — Inspection RecommendedAC Water LeaksWhy Is My AC Leaking Water?Read this next if broad water-leak diagnosis with no location specified yet — the visitor needs to identify the source before anything else.View answer
- YELLOW — Inspection RecommendedAC Water LeaksWhy Is My AC Unit Leaking Water?Read this next if water is visibly originating at the equipment cabinet — indoor air handler or outdoor condenser — rather than appearing elsewhere in the home.View answer
- YELLOW — Inspection RecommendedAC Water LeaksWhy Is My AC Leaking Water From the Bottom?Read this next if water is emerging specifically at the base of the unit — drain pan, cabinet base and overflow path are the focus.View answer
- YELLOW — Inspection RecommendedAC Water LeaksWhy Is My AC Vent Dripping Water?Read this next if water appearing at supply registers and grilles — a duct insulation, humidity and airflow issue rather than a condensate drain issue.View answer
- YELLOW — Inspection RecommendedAC FreezingWhy Is My AC Frozen?Read this next if system is already fully frozen and non-functional right now — visitor needs emergency thaw instructions before any diagnosis.View answer
- All AC Water Leaks problemsBrowse category
Frequently Asked Questions About an AC Leaking Water Inside the House
Guidance this page draws on
- CDC — Guidance on mold risk following indoor water intrusion.
- CPSC — Home water-damage safety considerations.
- HVAC manufacturer service literature — Secondary drain and float switch requirements for elevated installations.